Are you looking to strengthen your core, shoulders, and hips while improving your stability and balance? Look no further than the straight arm side plank. In this comprehensive guide, we will walk you through step-by-step instructions for performing the perfect straight arm side plank, ensuring you get the most out of this exercise and achieve optimal results.
What You Will Learn:
- The definition and benefits of the straight arm side plank, including the muscles targeted and the importance of proper form.
- How to prepare for the straight arm side plank with warm-up exercises and stretches to improve mobility and prevent injury.
- Step-by-step instructions on how to perform the straight arm side plank correctly, including body positioning, alignment, and muscle engagement.
Straight Arm Side Plank with Merlin App
The Merlin App is an invaluable tool when it comes to perfecting exercises like the Straight Arm Side Plank. This app utilizes artificial intelligence and real-time feedback to help users perform this challenging core-strengthening exercise with precision and effectiveness.
First and foremost, the app offers step-by-step instructions and visual demonstrations to ensure you understand the correct form and technique for the Straight Arm Side Plank. It breaks down the exercise, emphasizing the need for a straight line from head to heels, proper hand and elbow placement, and the engagement of the core muscles. This detailed guidance helps users, especially beginners, grasp the fundamentals of the exercise.
One of the most remarkable features of the Merlin App is its real-time feedback. As you attempt the Straight Arm Side Plank, the app\’s AI technology continuously analyzes your body\’s alignment and posture. If your form starts to waver or if you\’re at risk of injury due to incorrect positioning, the app will alert you and provide instant feedback. This can be incredibly useful in preventing injuries and promoting safe and effective workouts.
Understanding the Straight Arm Side Plank
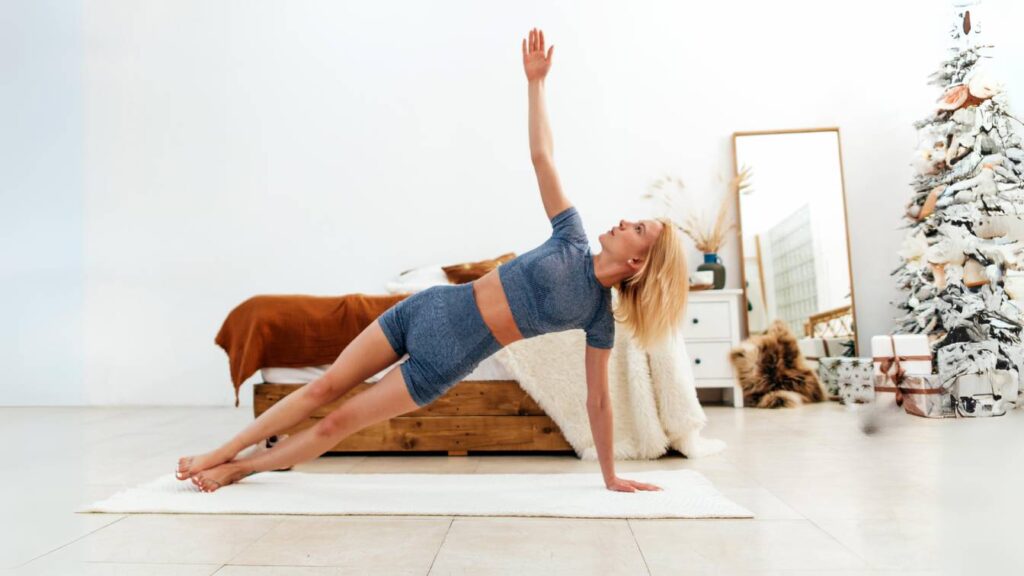
The straight arm side plank is a variation of the traditional plank exercise that targets your oblique muscles, shoulders, hips, and core. By supporting your body weight on one arm while maintaining a straight line from head to toe, you engage multiple muscle groups simultaneously, making it a highly effective compound exercise.
Performing the straight arm side plank offers several benefits. It strengthens the oblique muscles, contributing to improved core stability and enhanced athletic performance. Strong obliques also help protect the spine and reduce the risk of back injuries. Additionally, this exercise improves balance and proprioception, which are crucial for everyday movements and sports performance.
Preparing for the Straight Arm Side Plank
Before jumping into the straight arm side plank, it is essential to warm up and mobilize the relevant joints. Warming up increases blood flow to the muscles, improves flexibility, and reduces the risk of injury. Here are some recommended warm-up exercises and stretches to incorporate into your routine:
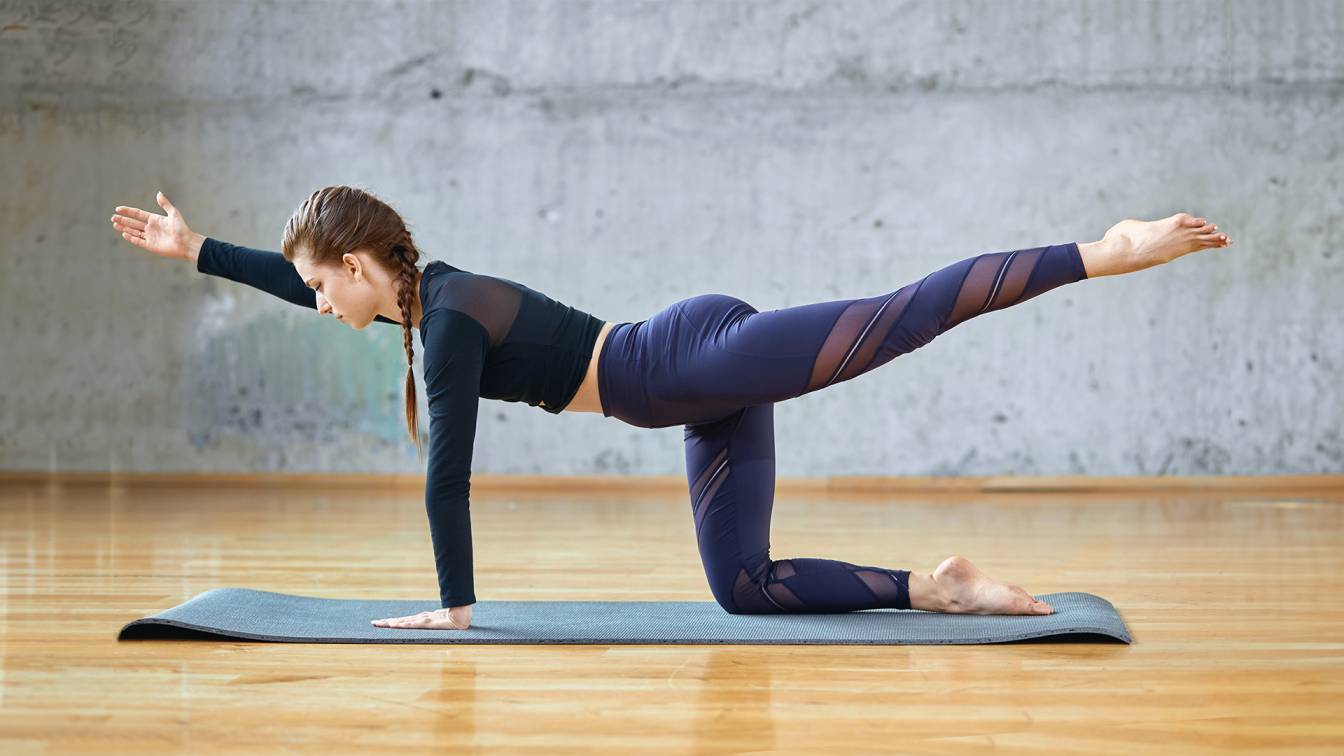
- Cat-Cow Stretch: Begin on your hands and knees, with your wrists directly under your shoulders and your knees under your hips. Inhale as you arch your back and lift your chest towards the ceiling, creating a gentle curve in your spine. Exhale as you round your back, tucking your chin towards your chest and engaging your core. Repeat this movement for 8-10 repetitions.
- Arm Circles: Stand with your feet shoulder-width apart. Extend your arms out to the sides, parallel to the floor. Make small circles with your arms, gradually increasing the size of the circles. After 10-15 seconds, reverse the direction. This exercise helps improve shoulder mobility and warm up the muscles surrounding the joint.
- Hip Circles: Stand with your feet hip-width apart. Place your hands on your hips and initiate a circular motion with your hips, moving them in one direction for 10-15 seconds and then reversing the direction. Hip circles help increase mobility and prepare the hips for the demands of the straight arm side plank.
In addition to these general warm-up exercises, it is crucial to focus on specific shoulder and hip mobility exercises. These exercises will enhance the range of motion in these joints, allowing you to perform the straight arm side plank with proper form and minimize the risk of injury.
Proper Form and Technique
To perform the perfect straight arm side plank, follow these step-by-step instructions:
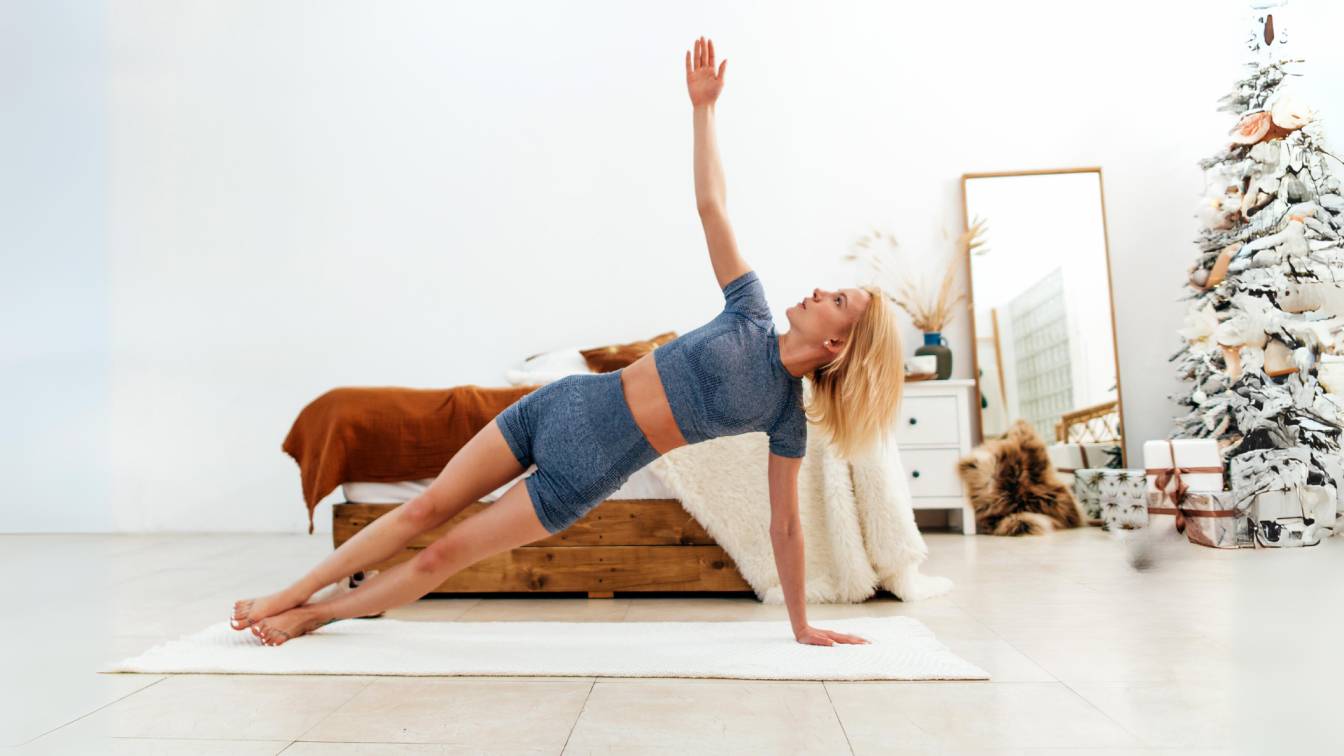
- Starting Position: Lie on your right side with your legs straight and feet stacked on top of each other. Place your right hand directly under your right shoulder, fingers pointing forward. Your body should be in a straight line from head to toe.
- Lifting the Hips: Engage your core and press through your right hand, lifting your hips off the ground. Keep your body in a straight line, avoiding any sagging or arching of the lower back. Your left hand can rest on your left hip or reach towards the ceiling for added challenge.
- Alignment and Muscle Engagement: Ensure that your shoulders are stacked on top of each other, with your right shoulder directly above your right wrist. Squeeze your glutes and engage your core to maintain stability and alignment. Imagine creating a straight line from the top of your head to your heels.
- Breathing: Focus on deep, controlled breathing throughout the exercise. Inhale deeply through your nose, filling your belly with air. Exhale slowly through your mouth, engaging your core muscles and maintaining stability.
Maintaining proper form and technique is essential for maximizing the benefits of the straight arm side plank and minimizing the risk of injury. Pay attention to body positioning, alignment, and muscle engagement throughout the exercise.
Getting into the Straight Arm Side Plank
To get into the proper starting position for the straight arm side plank, follow these steps:
- Lie on your right side, with your legs straight and feet stacked on top of each other.
- Place your right hand directly under your right shoulder, fingers pointing forward.
- Engage your core and press through your right hand, lifting your hips off the ground.
- Ensure that your body forms a straight line from head to toe.
Finding stability and balance in the starting position is key to performing the straight arm side plank effectively. Take a moment to adjust your hand and foot placement if needed, ensuring that you have a solid foundation before lifting your hips off the ground.
Executing the Straight Arm Side Plank
Once you are in the proper starting position, it\’s time to execute the straight arm side plank. Follow these guidelines to perform the exercise correctly:
- Lift your hips off the ground, maintaining a straight line from head to toe.
- Engage your core muscles by pulling your belly button towards your spine.
- Avoid sagging your hips or rounding your shoulders. Imagine balancing a glass of water on your top hip and shoulder.
- Breathe deeply and evenly throughout the exercise, focusing on maintaining stability and control.
- Hold the position for the recommended duration, which we will discuss in more detail later.
While performing the straight arm side plank, engage your core muscles fully. Imagine drawing your belly button towards your spine, activating the deep abdominal muscles. This engagement will enhance stability and help you maintain proper form throughout the exercise.
| Modification/Progression | Description |
|---|---|
| Bent Knee Side Plank | Bend the bottom knee and rest it on the ground to reduce the demand on the core and focus on proper alignment. |
| Stability Ball Side Plank | Place the bottom hand on a stability ball instead of the ground to add instability and challenge the core muscles further. |
| Hip Dips | While holding the straight arm side plank, lower the hips towards the ground and then lift them back up to target the oblique muscles from a different angle. |
| Leg Lifts | Lift the top leg off the bottom leg while maintaining the straight arm side plank position to add an extra challenge to the core and hip muscles. |
Modifications and Progressions
The straight arm side plank can be modified or progressed to accommodate different fitness levels and goals. Here are some variations you can incorporate into your routine:
- Bent Knee Side Plank: If the straight leg position is too challenging, you can bend your bottom knee and rest it on the ground. This modification reduces the demand on your core and allows you to focus on maintaining proper alignment.
- Stability Ball Side Plank: Place your bottom hand on a stability ball instead of the ground. This variation adds an element of instability, challenging your core muscles even further.
- Hip Dips: While holding the straight arm side plank, lower your hips towards the ground and then lift them back up. This movement targets the oblique muscles from a different angle and increases the challenge.
- Leg Lifts: Lift your top leg off the bottom leg while maintaining the straight arm side plank position. This variation adds an extra challenge to your core and hip muscles.
Choose modifications or progressions that align with your current fitness level and gradually increase the difficulty as you become stronger and more comfortable with the exercise.
Breathing and Duration
Proper breathing technique is crucial during the straight arm side plank. Focus on deep diaphragmatic breathing, inhaling through your nose and exhaling through your mouth. This breathing pattern helps stabilize your core and enhances overall control and performance.
Regarding the duration of the straight arm side plank, start with a manageable time frame and gradually increase it as your strength improves. Beginners can aim to hold the position for 15-30 seconds per side, while more advanced practitioners may aim for 60 seconds or longer. Listen to your body and adjust the duration accordingly.
Safety Tips and Precautions
While the straight arm side plank is generally a safe exercise, it is essential to take some precautions and consider the following safety tips:
- Avoid the exercise if you have shoulder or wrist injuries: If you experience pain or discomfort in your shoulders or wrists, it is best to avoid the straight arm side plank until you have fully recovered. Consult with a healthcare professional for personalized advice.
- Maintain proper form: Focus on maintaining proper alignment and muscle engagement throughout the exercise. Avoid excessive sagging or arching of the lower back, which can put unnecessary strain on the spine.
- Consult with a professional: If you are new to the straight arm side plank or have any underlying health conditions, it is advisable to consult with a certified personal trainer or healthcare professional before incorporating this exercise into your routine. They can provide personalized guidance and ensure that you are performing the exercise safely and effectively.
By following these safety tips and precautions, you can enjoy the benefits of the straight arm side plank while minimizing the risk of injury.
Common Mistakes to Avoid
To get the most out of the straight arm side plank, be aware of common mistakes and take steps to correct them. Here are some errors to avoid:
- Improper form: Maintain proper alignment by keeping your body in a straight line from head to toe. Avoid sagging your hips or rounding your shoulders.
- Lack of core engagement: Focus on engaging your core muscles throughout the exercise. Pull your belly button towards your spine and avoid relying solely on your arm strength.
- Collapsed or relaxed form: Keep your body fully engaged and avoid collapsing or relaxing during the exercise.
By avoiding these common mistakes, you can ensure that you are performing the straight arm side plank correctly and effectively.
In conclusion, the straight arm side plank is a powerful exercise that targets your core, shoulders, and hips. By following the proper form, utilizing modifications, and focusing on core engagement, you can master the perfect straight arm side plank and experience the numerous benefits it offers. So, get ready to transform your core and achieve new levels of strength, stability, and balance!


